
Foot care at home
Introducing CeraVe Hydrating foot cream by L’Oréal
Dry skin, cracked heels, accompanied with dehydrated nails and over grown cuticles, are a common feature for most of us as a result lock down.
For those who suffer from deep cracked heels and thickened toe nails, their experience can be a little bit more painful and I recommend, seeking professional advise from a podiatrist, whilst still following the recommendations below.
Introducing CeraVe Hydrating foot cream by L’Oréal CeraVe Renewing SA Foot Cream helps eliminate a build-up of dead cells and provides long-lasting hydration for feet.
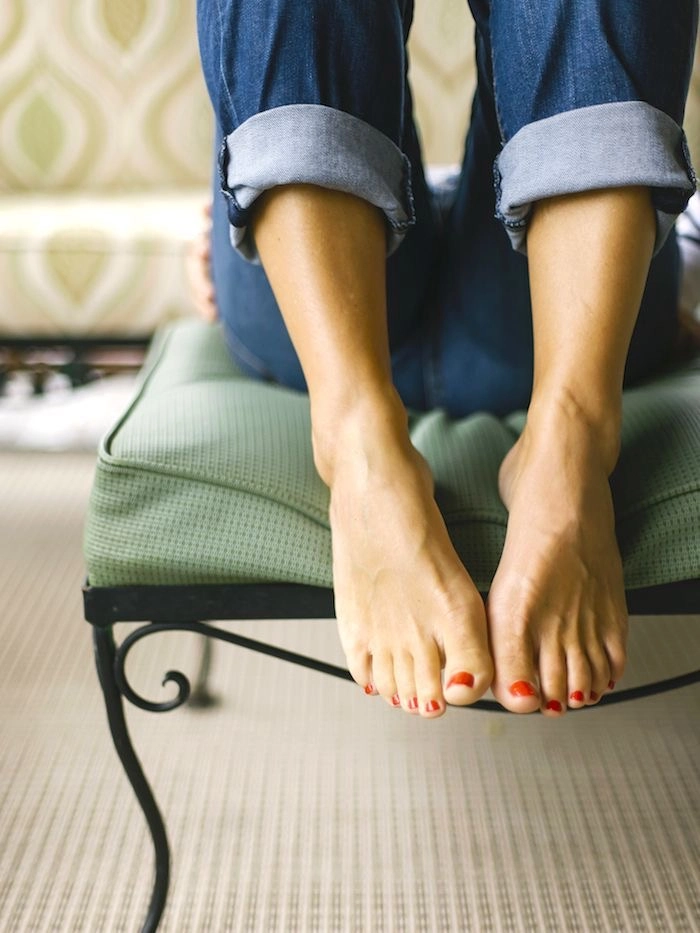
Foot Soak
Disinfect the foot using an antiseptic spray or salt and water solution.Separate the toes using a toe separator and remove any nail varnish using a moisturising nail polish remover.
Before soaking the feet it’s important to remove any hard skin gently.
I prefer to remove the hard skin before the soaking the feet, as the skin is no longer fragile therefore you are less likely to cause trauma and micro skin tear on the surface of the skin, that can lead to cracks and fissures on the heels
Using your pumice stone gently rub the skin in a circular motion to go over areas where there is callus(hard skin). These areas usually include the heels or under the base of the toes, or on the side of the foot. This gentle circular motion on dry skin should reduce the top layer build up and leave your skin with a more smoother surface.
Next soak your feet for about 5-10 minutes in lukewarm water with any soap of your choice or if you like you can always add some essential oils such as lavender which will act as an antiinflammatory agent and any relieve pain or tiredness. Do not soak your feet for longer than 10 minutes as this can cause further drying of the skin.
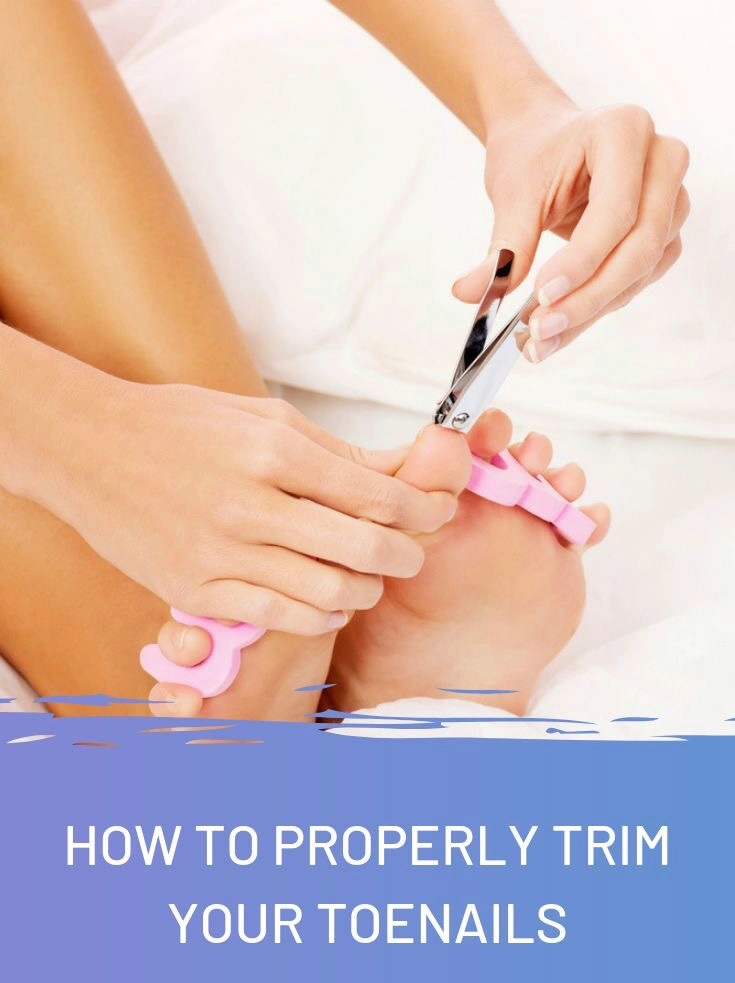
Nail clippers
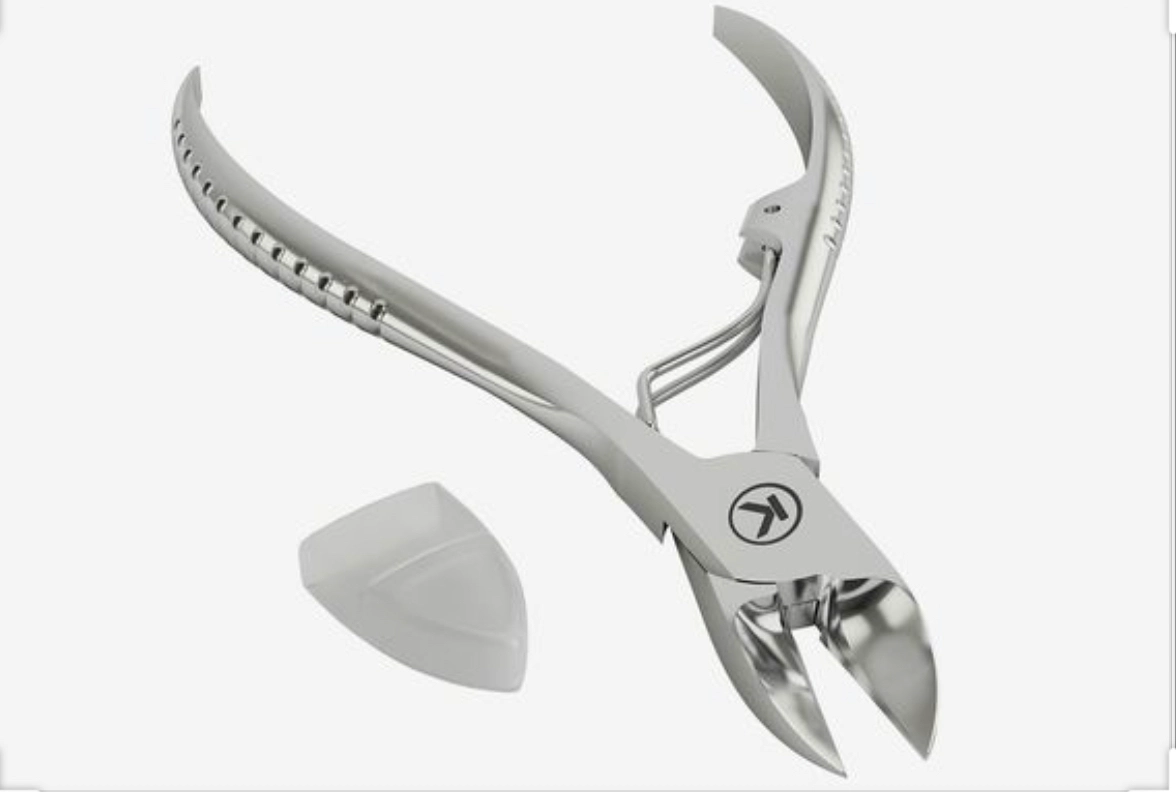
There are various types of toe nail clippers on the market, for a more controlled and precision cutting I would recommend that you invest in soaking of stainless steel scissor shaped clippers that are similar to what podiatrist use in clinics. kohm KP -700 toe nail clippers would be my recommendation. These clippers work perfectly well on both hard thickened nails as they do on soft weak nails.
Now that your nails are slightly softer using your clippers ,Cut the nail back so that you are left with 1 mm of white line and the nail edge meets the tip of your toe. Make sure that you do not cut into the pinky flesh area, as thus will open the nail bed to infections and also traumatise a nail bed.. Now for those who they may have a much larger section of a white tip on their nail , as long as the edge of your nail matches the edge of the tip your toe, that should be sufficient length. You can check this by running the tip of your finger against the tip of your toe, and if your finger doesn’t clip onto the edge of the your toe nail, than you know that you have the right length. Cut the nail straight without cutting into the corners. The cuticles need on the side of your nail should not be cut into as you will be shortening the base of your nail bed and removing the protection that the cuticles offer to the corners of your nails. If the nail curves inwards and into the corner, gently lift the nail with the edge of your nippers and cut straight and allow the nail to fall back into its natural position. Do not lift the nail and pull upwards, forcing the off and upwards could lead to trauma and detachment of your nail from the nail bed. Be very careful and very gentle when you are clipping the nails. I suggest that you hold the base of the nail down with your other hand and gently clip, this will prevent any trauma radiating through the nail which could lead to thickening of your nail.
Cuticles
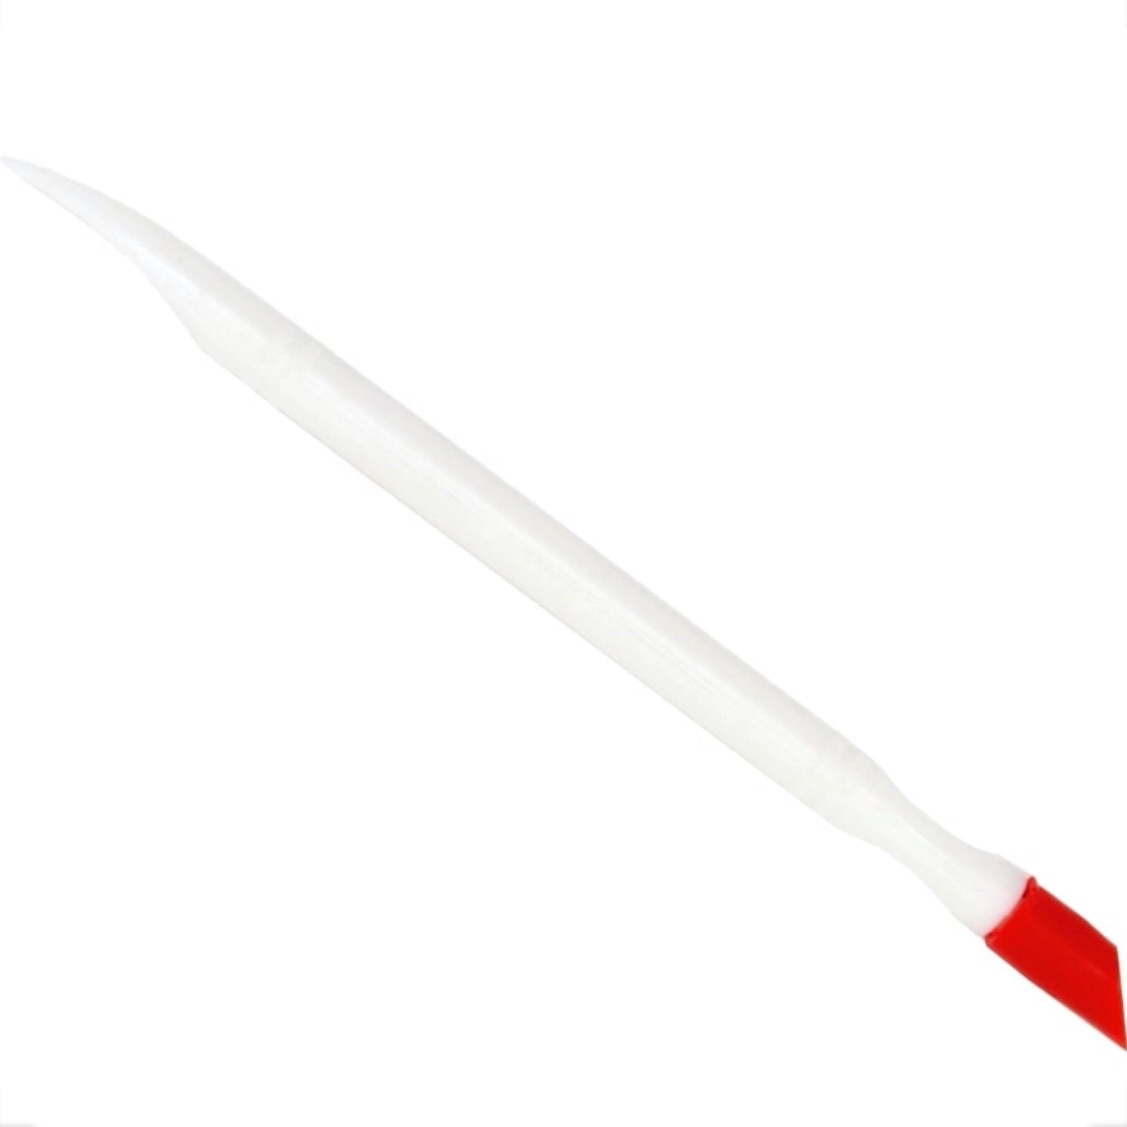
Using a rubber hoof stick gently push your cuticles back without too much force that could cause any inflammation to the cuticles. If you do you have a large buildup of cuticle then gently use a cuticle nippers and trim the excess skin very gently. I don’t normally recommend cutting away the cuticles, however in some cases the buildup can be excessive, and trimming the cuticles is required. Gently scrape away any debris that’s left on the surface of the nail, using the rubber hoof stick, and clear out any surface dead skin on the nail. When you are removing any debris from under and around the cuticle area, make sure that you only scrape that area, and avoid using the scraper all the way to the front base of the nail. You only want to scrape very gently where the previous cuticle area has left some skin.
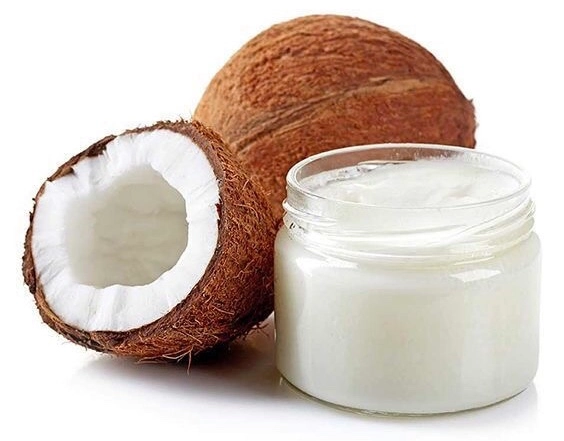
Our goal is to minimise any surface trauma to the nail, as any kind of trauma will lead surface cracks( opening for infections to enter) thickening and weakening of the nails. If the cuticles are very dry and soaking the feet has not been sufficient to allow for movement of the cuticles, you can use a metal cuticle pusher. Rub a little cuticle oil or coconut oil to the surrounding skin and the cuticles to sooth the area, without getting too much on the nails.
Filling your nails
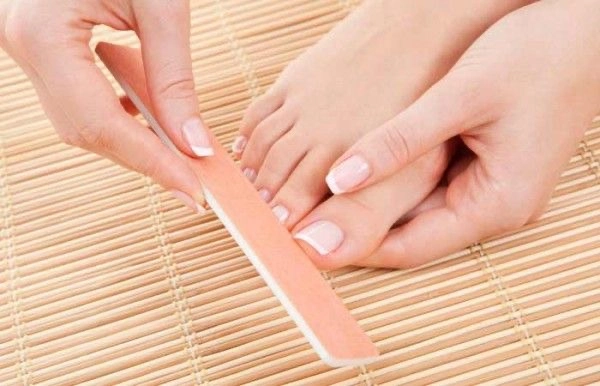
Depending on the condition of your nails wether they are weak, thin, fragile nails or hard strong thick toenails, you will have to choose the coarseness of grit to suit your nail type.However as a general rule I would avoid using the traditional cardboard emery files. They create more damage to your nails, by leaving them ‘open’ to possible infections as well as weakening your nails .The softer the nail the more softer and finer should be the grit of your file.
For those who suffer from very hard thick nails men or woman, I would recommend using a metal file. These files are non-porous compared to traditional emery boards, making them slightly more hygienic. I recommend that you try and purchase the metal files that are formed using a metal stick that has been roughed, rather than the types where metal flakes are adhered to cardboard stick or metal stick.
Unfortunately no matter how gentle a metal file is, they can still leave the nail tip ‘open’ and sometimes those made from metal flakes can lead to particles being left in the nail. However if you have very thicker nails they maybe your only option. I recommend the Revlon emery compact nail file, the file has two side which offers a perfect balance between grittiness and gentleness, and helps control splitting.
If you do not suffer from very thickened nails than I recommend using a glass file, I recommend the ClassyLady Professional glass nail file, which will be much more gentler on you nails and also much more hygienic, especially for those who suffer from diabetes, and better for the environment.
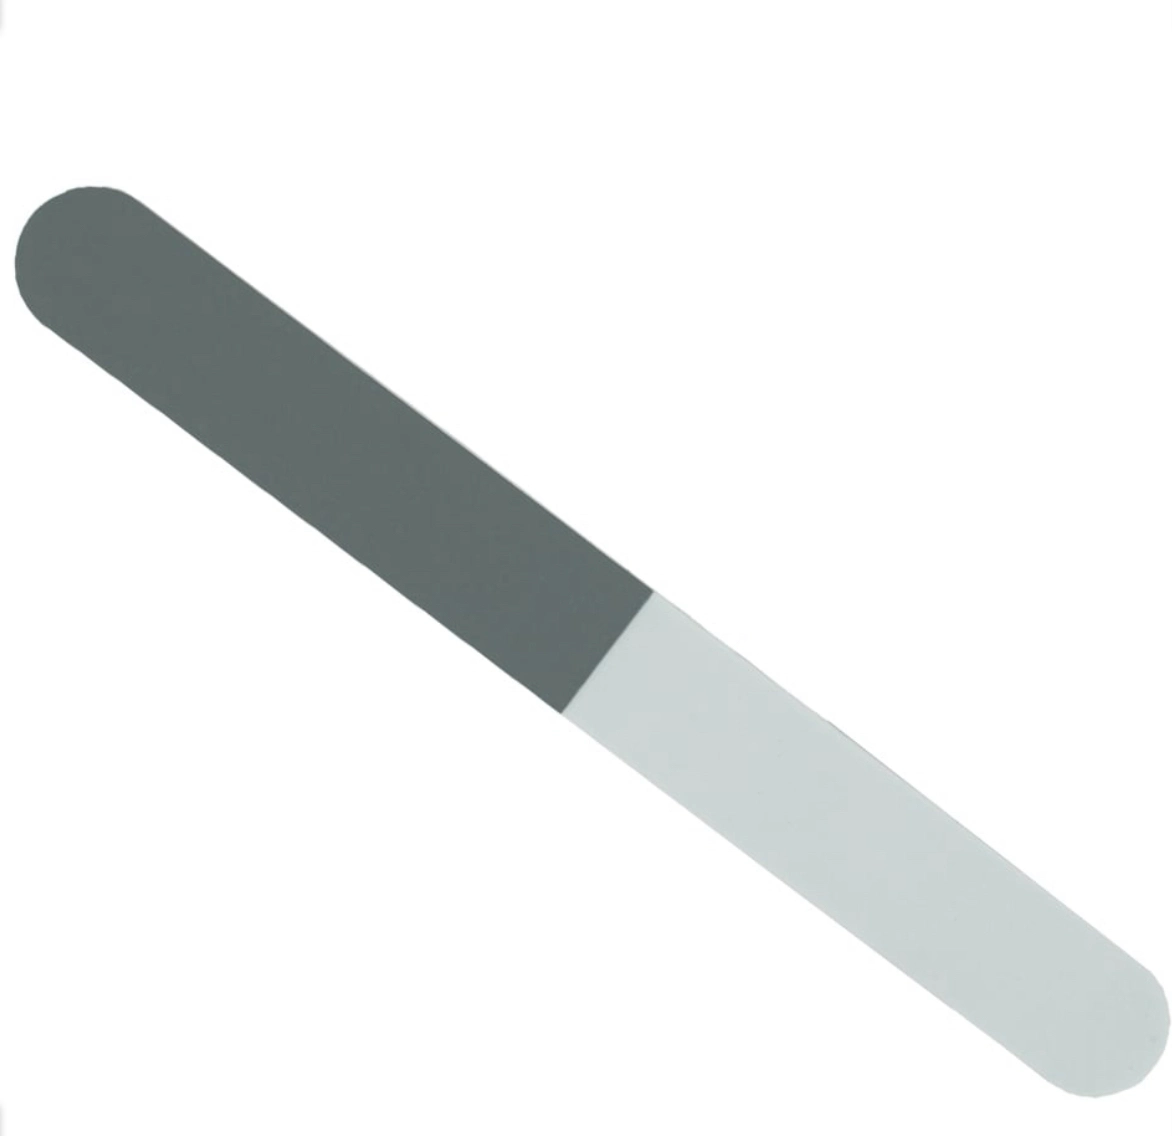
I personally prefer to stick to single use instruments and therefore recommend using the Hive 4 way gentle nail file. The file has two different grits for filing the nails and two sections for buffing the nail. This will allow for shaping of the nail to be easier and safer, as you can use the very fine grit to file the edges of you nails to keep them ‘closed’. It’s also much more hygienic as you can dispose of the file after use and prevent any chances of introducing bacterial and fungal infections to your nails.
I recommend using the Hive 4 way nail buffer dark gray section to file the edge of the nails in one direction, ensuring that you are not following an backwards and forwards motion, as this will only cause fraying of the nail and splitting, as well as allowing water to seep in and weaken your nail structure. Lastly very gently file the top edge of the nail tip. Finally file around the nail and the edges very gently, you do not want to thin the tip of the nail, again this can be done in a gentle circular motion. Creating a half circle over the top of the nail, and make sure there are no sharp edges that can cause snagging on sock or bed sheets.
If you have very thickened toe nails I recommend you file very gently on top to help reduce the pressure in you shoes. However I would first recommend that you check to see that the thickness of the nail is the nail it self, and not build up of the nail bed and skin under the nail. It’s quite often common for people to have what looks like a thickened damaged nail. However, what they have is traumatise nail bed which is covered by a thin layer of nail. You can identify this by placing a mirror infront of your toe and checking to see the layer or line that curves round and separates the layer of nail and skin underneath it. If you are unsure , I would recommend you either see a podiatrist or avoiding filing on top. Your goal is to keep trauma to minimum when taking care of your feet.
Exfoliation
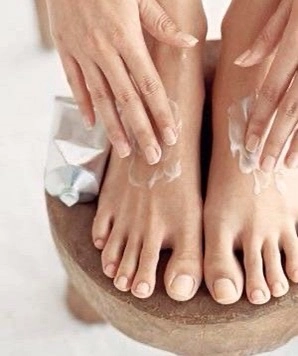
Using a soft gentle exfoliator or a natural exfoliator that could be brown sugar, or any of your own favourite foot care brand, gently exfoliate your feet using a circular motion, ensuring that all areas of the skin are exfoliated including the surface of the nails. You can also use a soft toothbrush to gently exfoliate the surface of the nails, removing any surface debris and also down the cuticles area, but again ensure that you do this very gently in a circular motion ,do not scrub or buff as this can damage the soft skin underneath.
Return to your pumice stone and gently exfoliate away any further hard skin to create that final smooth surface. Be mindful that the skin is more fragile after the foot soak and exfoliation. Therefore most of the exfoliation with the pumice stone should be done on the dry skin and at this stage you’re just gently finishing off the edges to ensure a nice smooth finish. Do not scrub down or push hard on the skin as any kind of force will tear the skin superficially and traumatise it, leading to further hard skin buildup and weakening of the skin. Resulting in that rough flaky texture that you tend to develop after having a salon pedicure regrowth. If you spoon suffer from corns, which am be described as small areas of hard skin, which is can be found both on top and underneath your feet, and can be painful on touch, or very thick callus, I recommend you seek professional help from a podiatrist.
Foot Mask
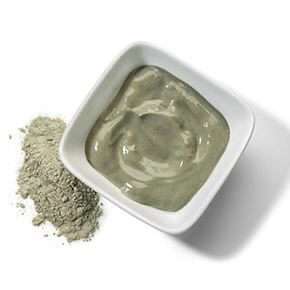
This stage is optional for those who want to offer themselves extra pampering. Mud masks are a great option for treating any skin disorders such as dry skin, sweaty feet or smelly feet. They also help gently draw out any toxins from your body via your feet, and generally are considered as one of the safest ways to detoxify your body.
If you like to make your own at home I recommend
using
- 3Tbsp bentonite clay
- 3 Tbsp apple cider vinegar
- 3-5 drops of your favourite essential oil.
Mix the ingredients together apply using a soft bristle brush make sure that you’re not using any metallic bowels or utensils, as this can deactivate the clay properties.Apply the foot mask to your feet and let it dry for 20 minutes, you can cover your feet in plastic bags while they are drying. Rinse off with lukewarm water and use a soft bristle brush or a washcloth to remove the clay. You can also purchase ready made foot masks from various foot care brands.
Return back to your toenails and using a 4 way nail buffer, using your hive 4 way nail buffer file, use the white part of your nail file and gently remove any further stains on the surfaces of the nails, and using the soft smooth file section run that gently over the cuticles and smooth out the skin around the side of the cuticles very gently. This should leave you with a nice matte finish of your nails and a smooth skin around the cuticles. If you have some white patches on the surface of your nail, these are usually referred to as keratin granulation. These usually appear as a result of wearing prolonged nail polish, and using harsh nail polish removers that dehydrate the nail. This is why I recommend using a good quality moisturising nail polish removers tat the start of your pedicure. The white keratin granulation areas appear as white chalky dehydrated areas in the nail. However they can also can also sometimes be superficial white nail fungus infection. If you notice that they reappear after very gentle buffing , I recommend you seek professional advise from your doctor or podiatrist, to ensure it’s not an fungal infection. Do not file hard if the area does not disappear after very gentle buffing. You will only traumatise the nail and spread a possible nail infection.
This stage it’s important to rehydrate the nails, applying a very small amount of olive/coconut oil to each nail, and allowing it to absorb fully into the nail and cuticle.
The oil is designed to repair any trauma to the nail during the pedicure and to rehydrate the nail before we seal the nail with a buffer. This is an important stage, so please do take your time and work the oil into the cuticles and nail, as this will keep your nails strong and seal the moisture in. I recommend using these natural oils as the body recognises and responds very quickly in absorbing them efficiently.
While your nails are absorbing the oil, we now need to move on to hydrating the skin.
Hydration
Moisturising treatments in the form of creams, lotions and ointments, can help retain moisture and prevent the skin from drying out and cracking. They also can also help repair skin that is already cracked.
We find that the most common cause of cracked heels is due to lack of moisture in the skin and trauma from excessive scrubbing in nail salons. Other factors that also cause dry skin or cracked heels include skin conditions such as eczema, psoriasis diabetes and most commonly athletes foot, also known as fungal infection on the skin. It’s important to repair the skin, to allow for the cracks to close, and to prevent further opening and infections from entering into the skin.
We now need to hydrate the skin smooth buffed skin to strengthen and seal the moisture in and increase the water capacity , and to allow the skin to retain it’s own natural moisture in it’s outermost layer, as well as protecting the skin from external elements.
Apply the moisturiser all over your feet avoiding areas in between your toes. It is pertinent that you do not apply moisturiser in between your toes as this will only create moist environment for fungal infections to thrive, as well as creating an opening for bacteria infections to enter. If you do get any moisturiser in between your toes whilst moisturising your feet make sure you wipe all traces using a cotton wool and water or cotton wool and some surgical spirit.
Since the foot has fewer oil glands,it requires regular moisturising than other parts of the body.Therefore the hydration that the moisturiser offers will allow your skin to have more elasticity, by penetrating into the deeper layers of the skin and repairing the skin from within, allowing the cracks to repair from inwards to the outer surface.Meaning when you walk on cracked skin, the skin is much more flexible and therefore, able to absorb the pressure and prevent further opening and deepening of the cracks. This is why I recommend hydrating and moisturising your feet on a daily basis to help support the skin structure in the repair process.
Cera Ve fast- absorbing non greasy foot cream contains essential ceramides which help restore the lipid levels in the skin, and maintain the skins natural barrier and prevention of water loss .Protecting the feet from bacterial, fungal and viral infections. The cream is designed to treat dry rough skin and improve the texture and appearance of the skin
Now that both your nails and skin are fully hydrated. Take your nail file and using the the grey buffer, buff your hydrated nails gently until they shine. This should take 5 seconds on each nail, buffing the edges of nails too, to seal the nails.
I recommend you finish off with a nice essential oil foot massage as this will improve your overall general foot health and also help relax your body alleviate any stress, anxiety and pain, and also help support strengthen the
internal ligaments of your feet.